



Practical guidance and links reviewed October 10, 2026. Original publication date retained.
Ahh, springtime! The air is fresh and crisp. The world feels new and full of possibilities. What better time to make your devices feel the same way with some digital organizing?
Spring cleaning is one of our favorite unofficial holidays but we only recently learned its origins. In the early 1800s, cold weather forced people into the warm embrace of soot-producing heating methods like fire, coal, and oil. Once the warmer weather started rolling in, it was a necessity to clean all of the soot that settled in people’s homes.
Obviously, we’ve come a long way since then. Now we get alerts when our air purifier filter needs to be changed. It’s still good to air your place out after a stuffy winter but now spring cleaning is more of an act of rebirth for you and your space.
These days, there’s more to spring cleaning than dust-busting and closet cleanouts. There’s never a bad time to do spring cleaning, even if it’s almost summer. This is why we’re going to take you through a few digital spring cleaning tips to help you declutter and take control of your digital life as well.
Picture this!

Not having enough storage on your phone or cloud backup can be frustrating. Especially when you get the notification when you’re trying to take a picture or video. If this has happened to you here’s what you can do.
Before deleting, verify an independent backup of the photos you want to keep. In Photos, review a manageable category such as screenshots or videos; menu names vary by software version. The screenshots below show an earlier interface.
Instead of trying to review all the photos on your phone all at once on an infinite scroll, break up the task into bite-sized portions. Going down the list one by one, review the different types of pictures and videos makes it much more manageable to narrow down what is being stored.
Different media types also take up different amounts of storage per file. Keep this in mind if you’re trying to create space. Slo-mo videos take up more space than regular videos, portraits take up more space than regular pictures, and long videos will take up more space than short ones.
After reviewing your backup, use Select to choose a small group of unwanted photos or videos. Check the selection before confirming deletion, rather than removing a large group you have not reviewed.
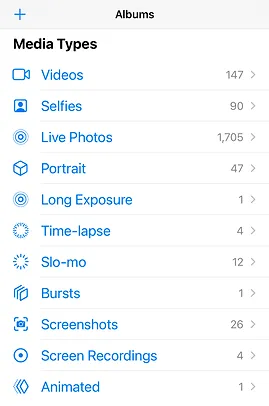

Select button in the top right
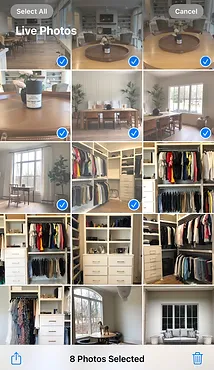
Choose what you’re deleting
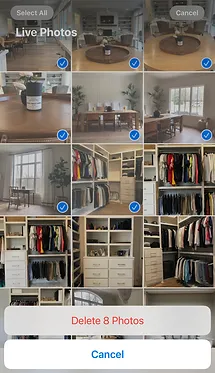
Delete!
With iCloud Photos, deletion syncs to your other connected devices. Apple normally keeps deleted items in Recently Deleted for 30 days; permanently deleting them there removes that recovery option. Read Apple’s photo deletion and recovery guidance before emptying it.
Email Overload
Email arrives every day. Without useful labels and a repeatable review routine, an inbox can become overstuffed. Start with a small group of messages you understand, not an indiscriminate purge.
As the famous Chinese proverb says,
“A journey of 1000 unread emails starts with one newsletter”
Or something like that…
Find one recurring email sender you want to reduce, let’s say JunkMail@OverstuffedInbox.com, search the email address in your inbox search bar.

Once you’ve got the results from your search, use the select all function and delete those unneeded emails away in bulk.
If you want to search for something specific besides just a sender’s email try advanced search. Using an advanced search you can find:
- Emails that contain specific words or phrases (like unsubscribe or newsletter)
- Emails with large attachments taking up storage space
- Emails sent on specific dates
- Much more
The end goal is to get your inbox to zero, and here’s why.
Imagine if every piece of mail you ever received was in your mailbox.
Letters, bills, magazines. Some opened, some unopened. All just left in your mailbox in a giant, unsorted heap. How would you find something from the heap if you needed it? How would that make you feel? How would your neighbor feel?
Whether you’re clearing your inbox through deleting correspondence you don’t need or labeling every email you receive and archiving it out of your inbox. The inbox is for emails you actively need or are working on. Everything else should be labeled and archived.
If you want to dive deeper than bulk deleting recurring emails, take a look at your emails that are over 5 years old. Do you need them all? Review, purge and repeat going back through time.
Password Protection
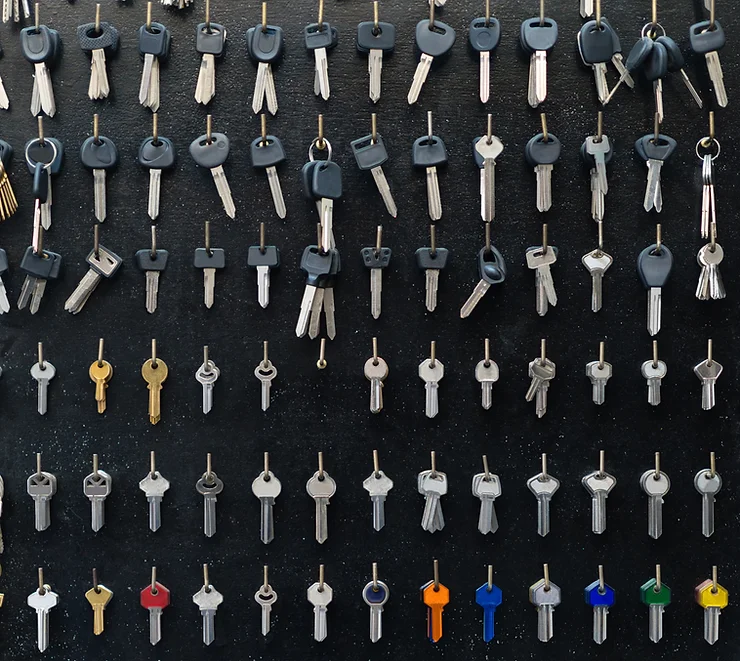
We’ve noticed a lot of people lately keeping notebooks with their passwords handwritten in them for safekeeping. Yes, we’re talking to you Dad.
With this method, the negatives really outweigh the positives.
On the plus side, you have all your accounts and passwords at your fingertips, but what happens if you lose it? Or if it gets ruined and isn’t legible anymore? You could be locked out of your accounts or worse be hand over the keys to the kingdom to whoever finds your notebook.
A password manager can help you keep strong, unique passwords organized. Protect the manager account itself, use multi-factor authentication where available, and keep recovery information in a secure place.
Replace weak, reused, or compromised passwords. NIST’s current password guidance does not call for forced periodic changes without evidence of compromise.
Spring is a useful reminder to review important accounts, recovery details, and software updates. Keep the review routine; respond promptly to a genuine security alert.